Lift Blocks

Standard

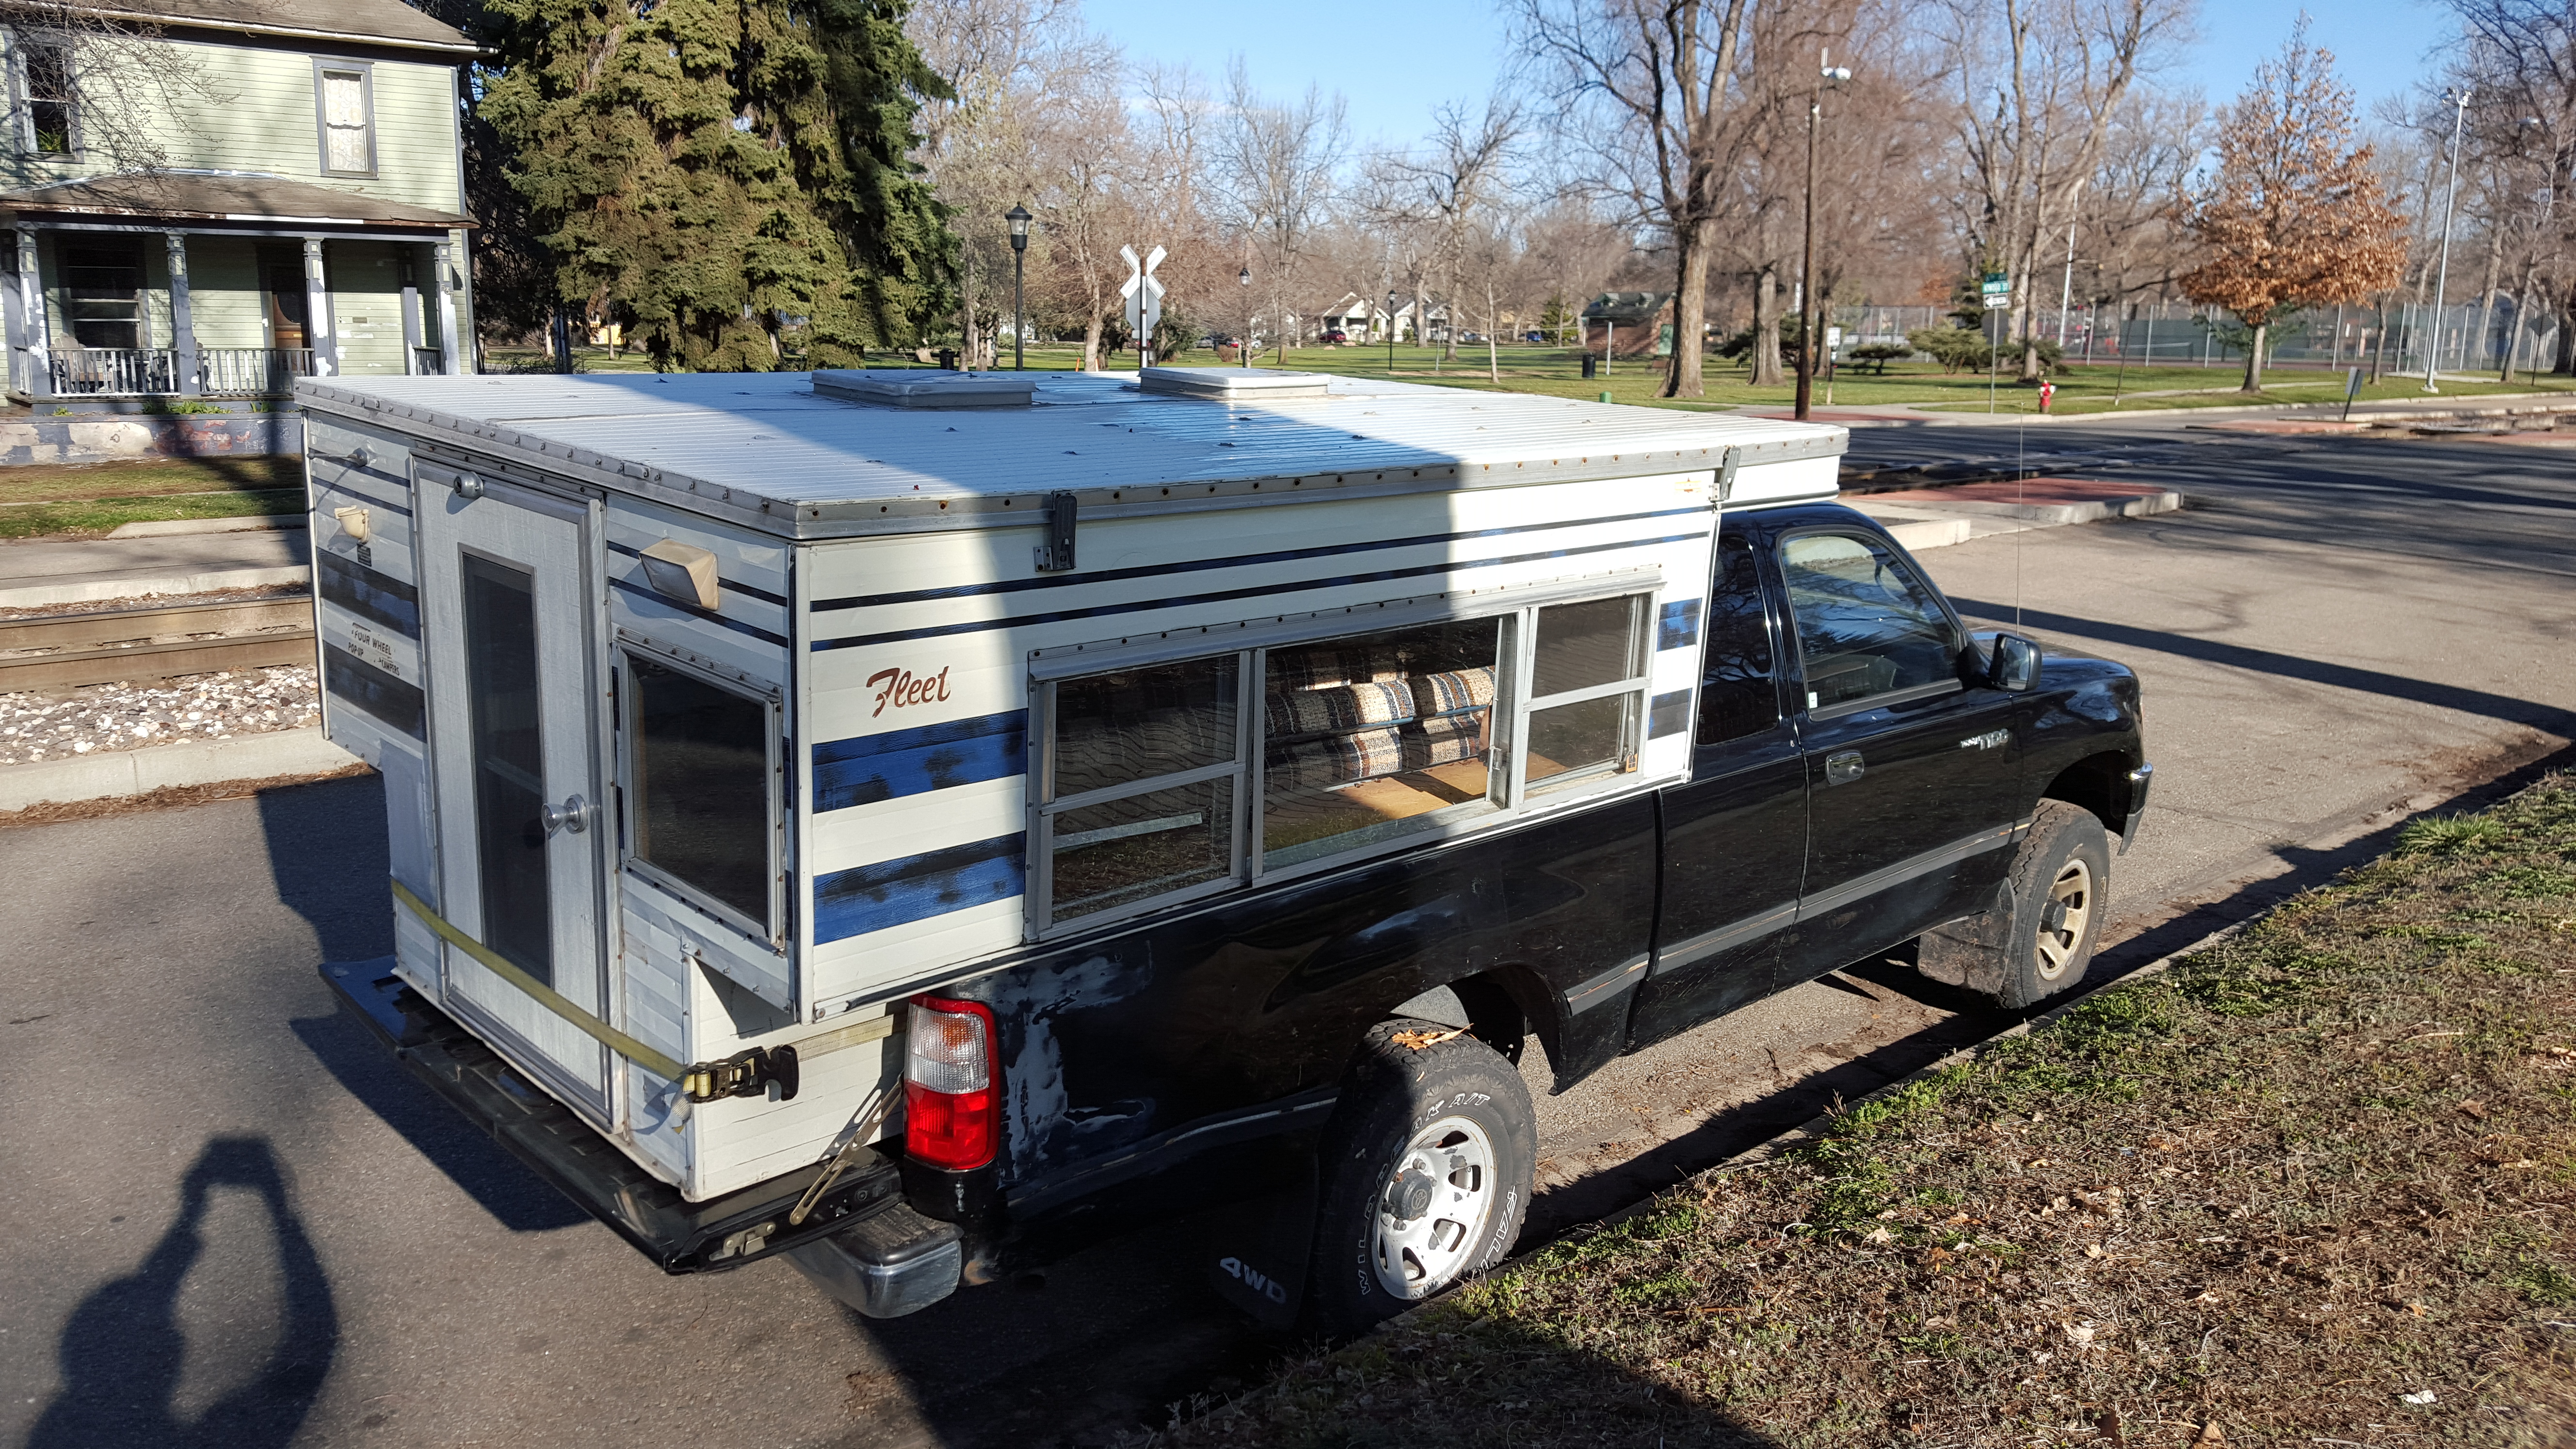
When I installed the 2″ lift kit, the final ride height measured out a 1/2″ higher in the rear than in the front. Since I knew the camper was going back on I left it as is and guessed I would see about 1″ of sag in the rear which would keep things roughly lined up. It turned out to be a bit more than that.

Purty, but saggy.

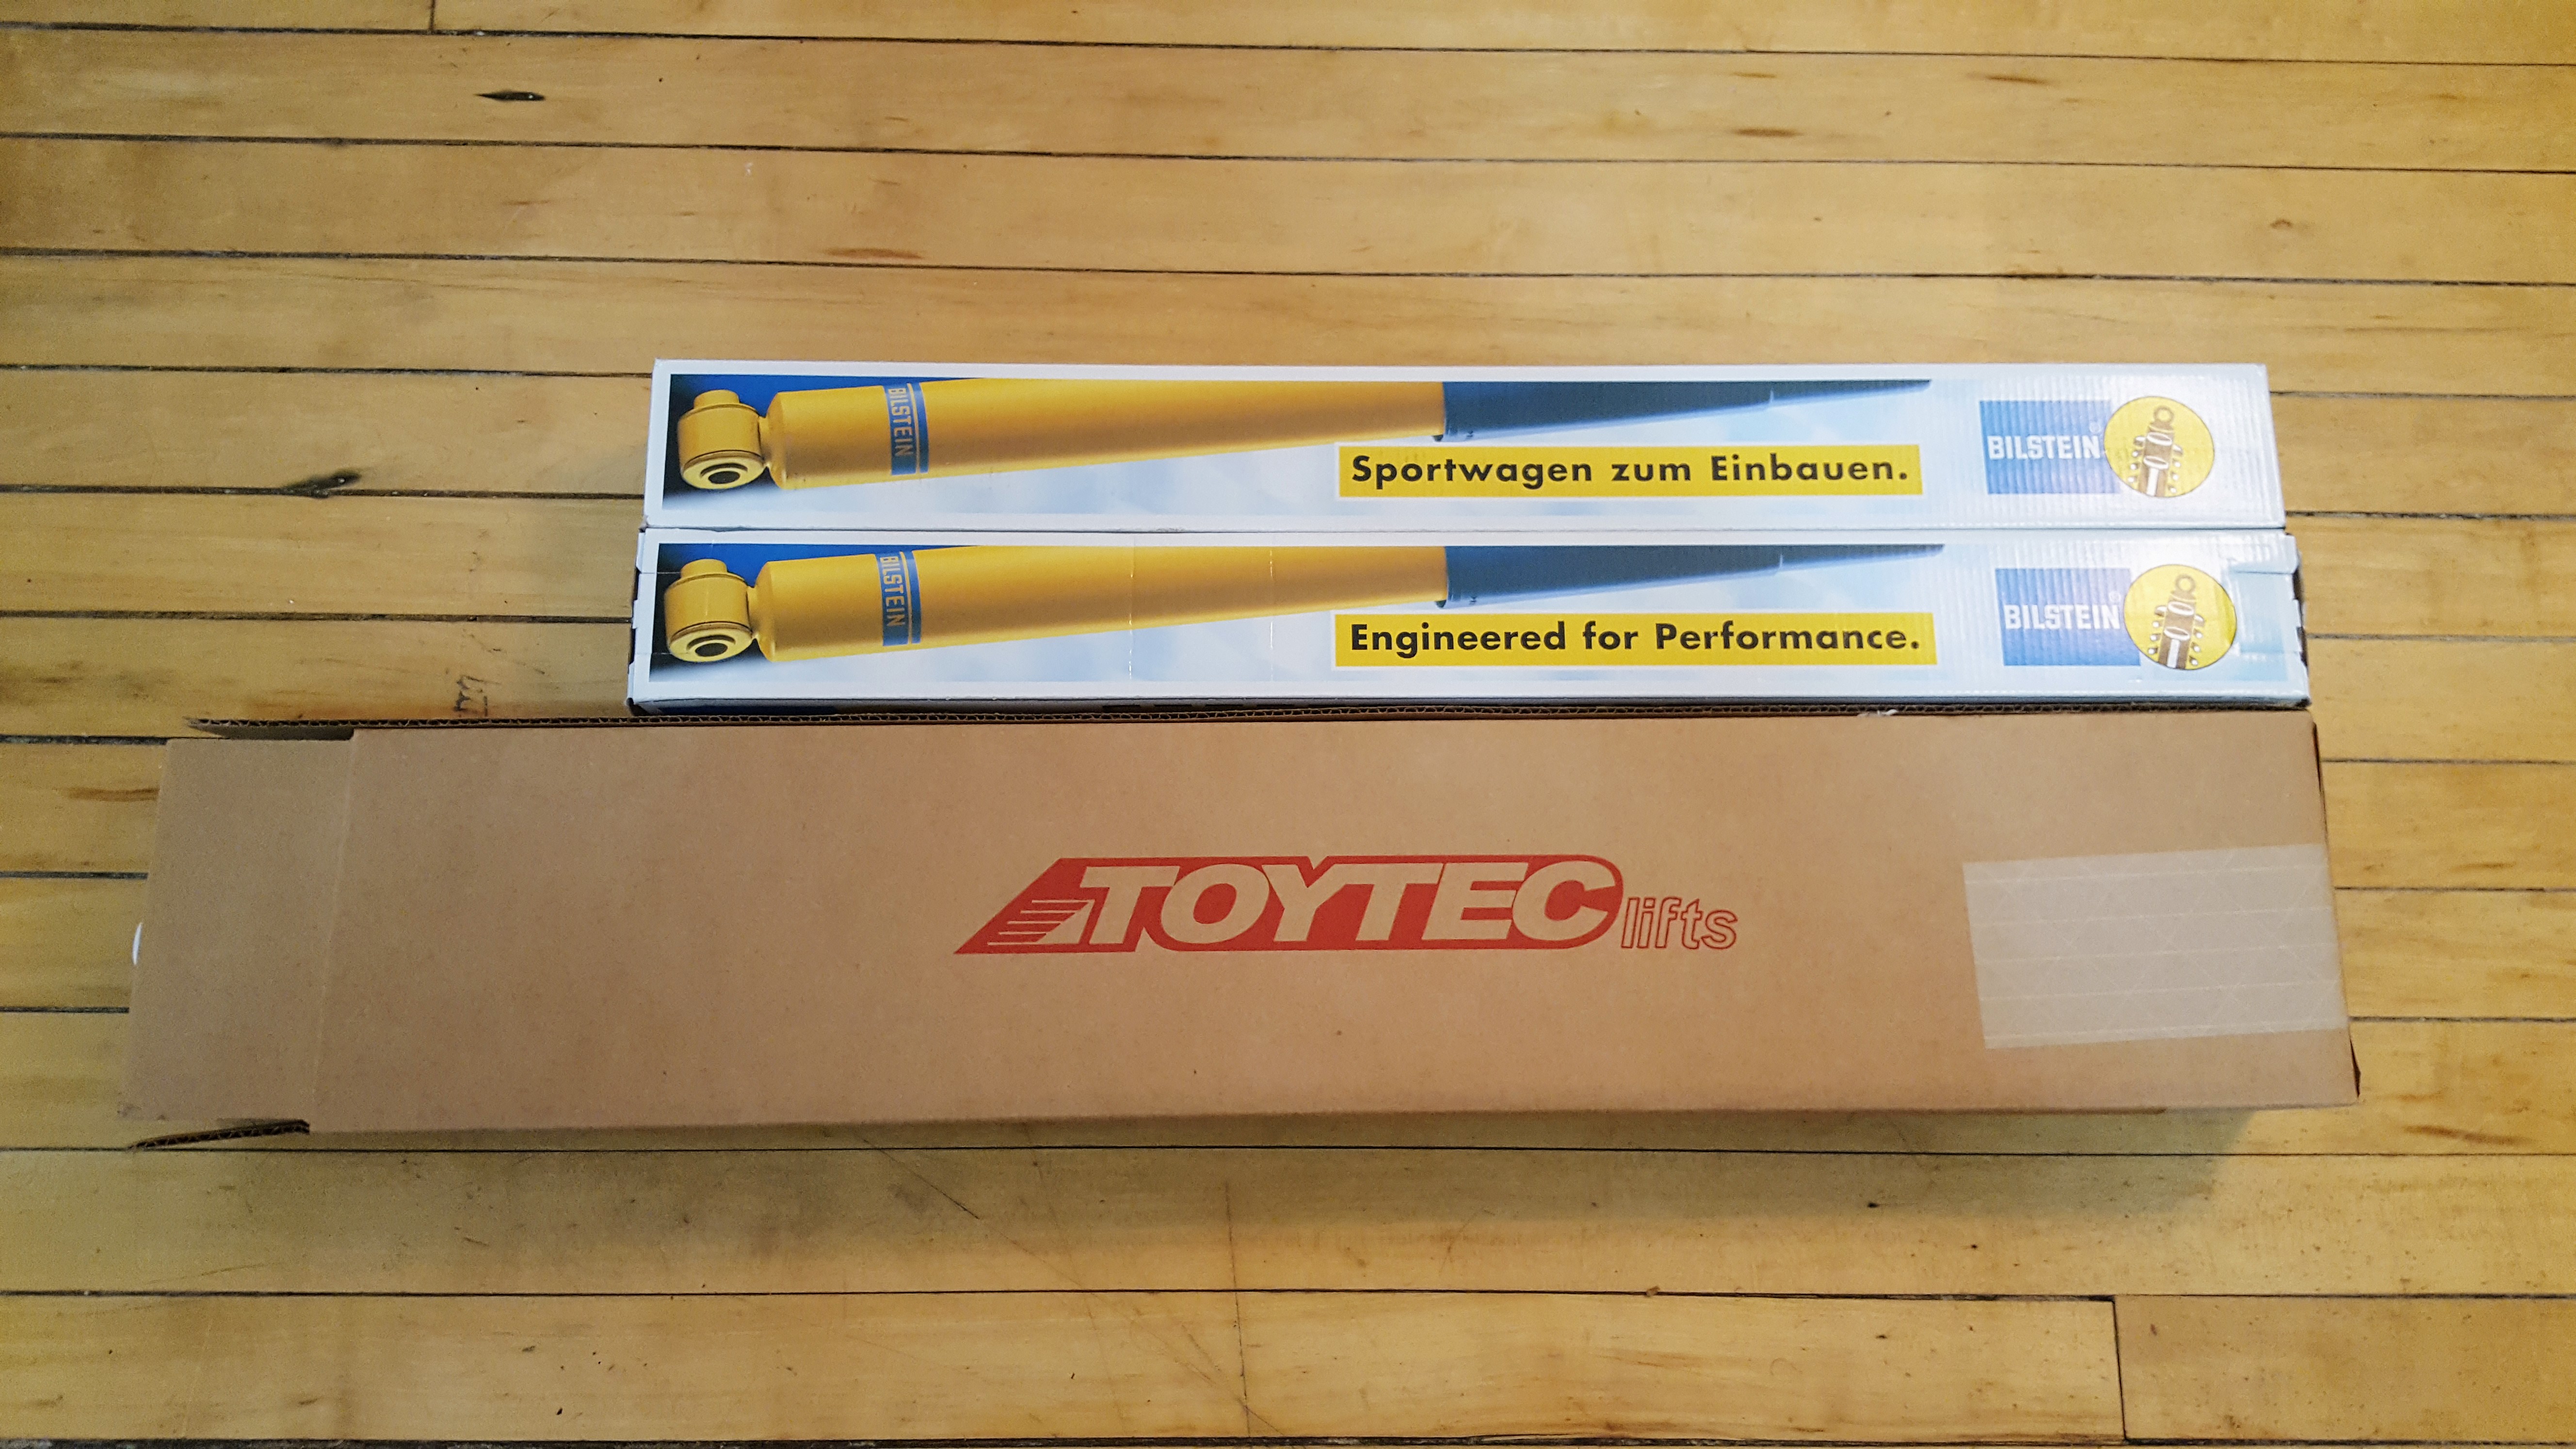
The total sag came out to 2″ in the back, more than enough to be noticeable. I debated adding rear air bags, but I was quoted >$600 to get them installed. The parts cost was less than half that, but since I’m living out of the camper for the next few months, I’m stuck without a good place to work on the truck. A lift block looked like a much easier installation and I was reasonably sure I could do it myself at a campsite. Toytec offers a 1.5″ block, so I grabbed a pair along with a set of 9″ u-bolts.

Lift block

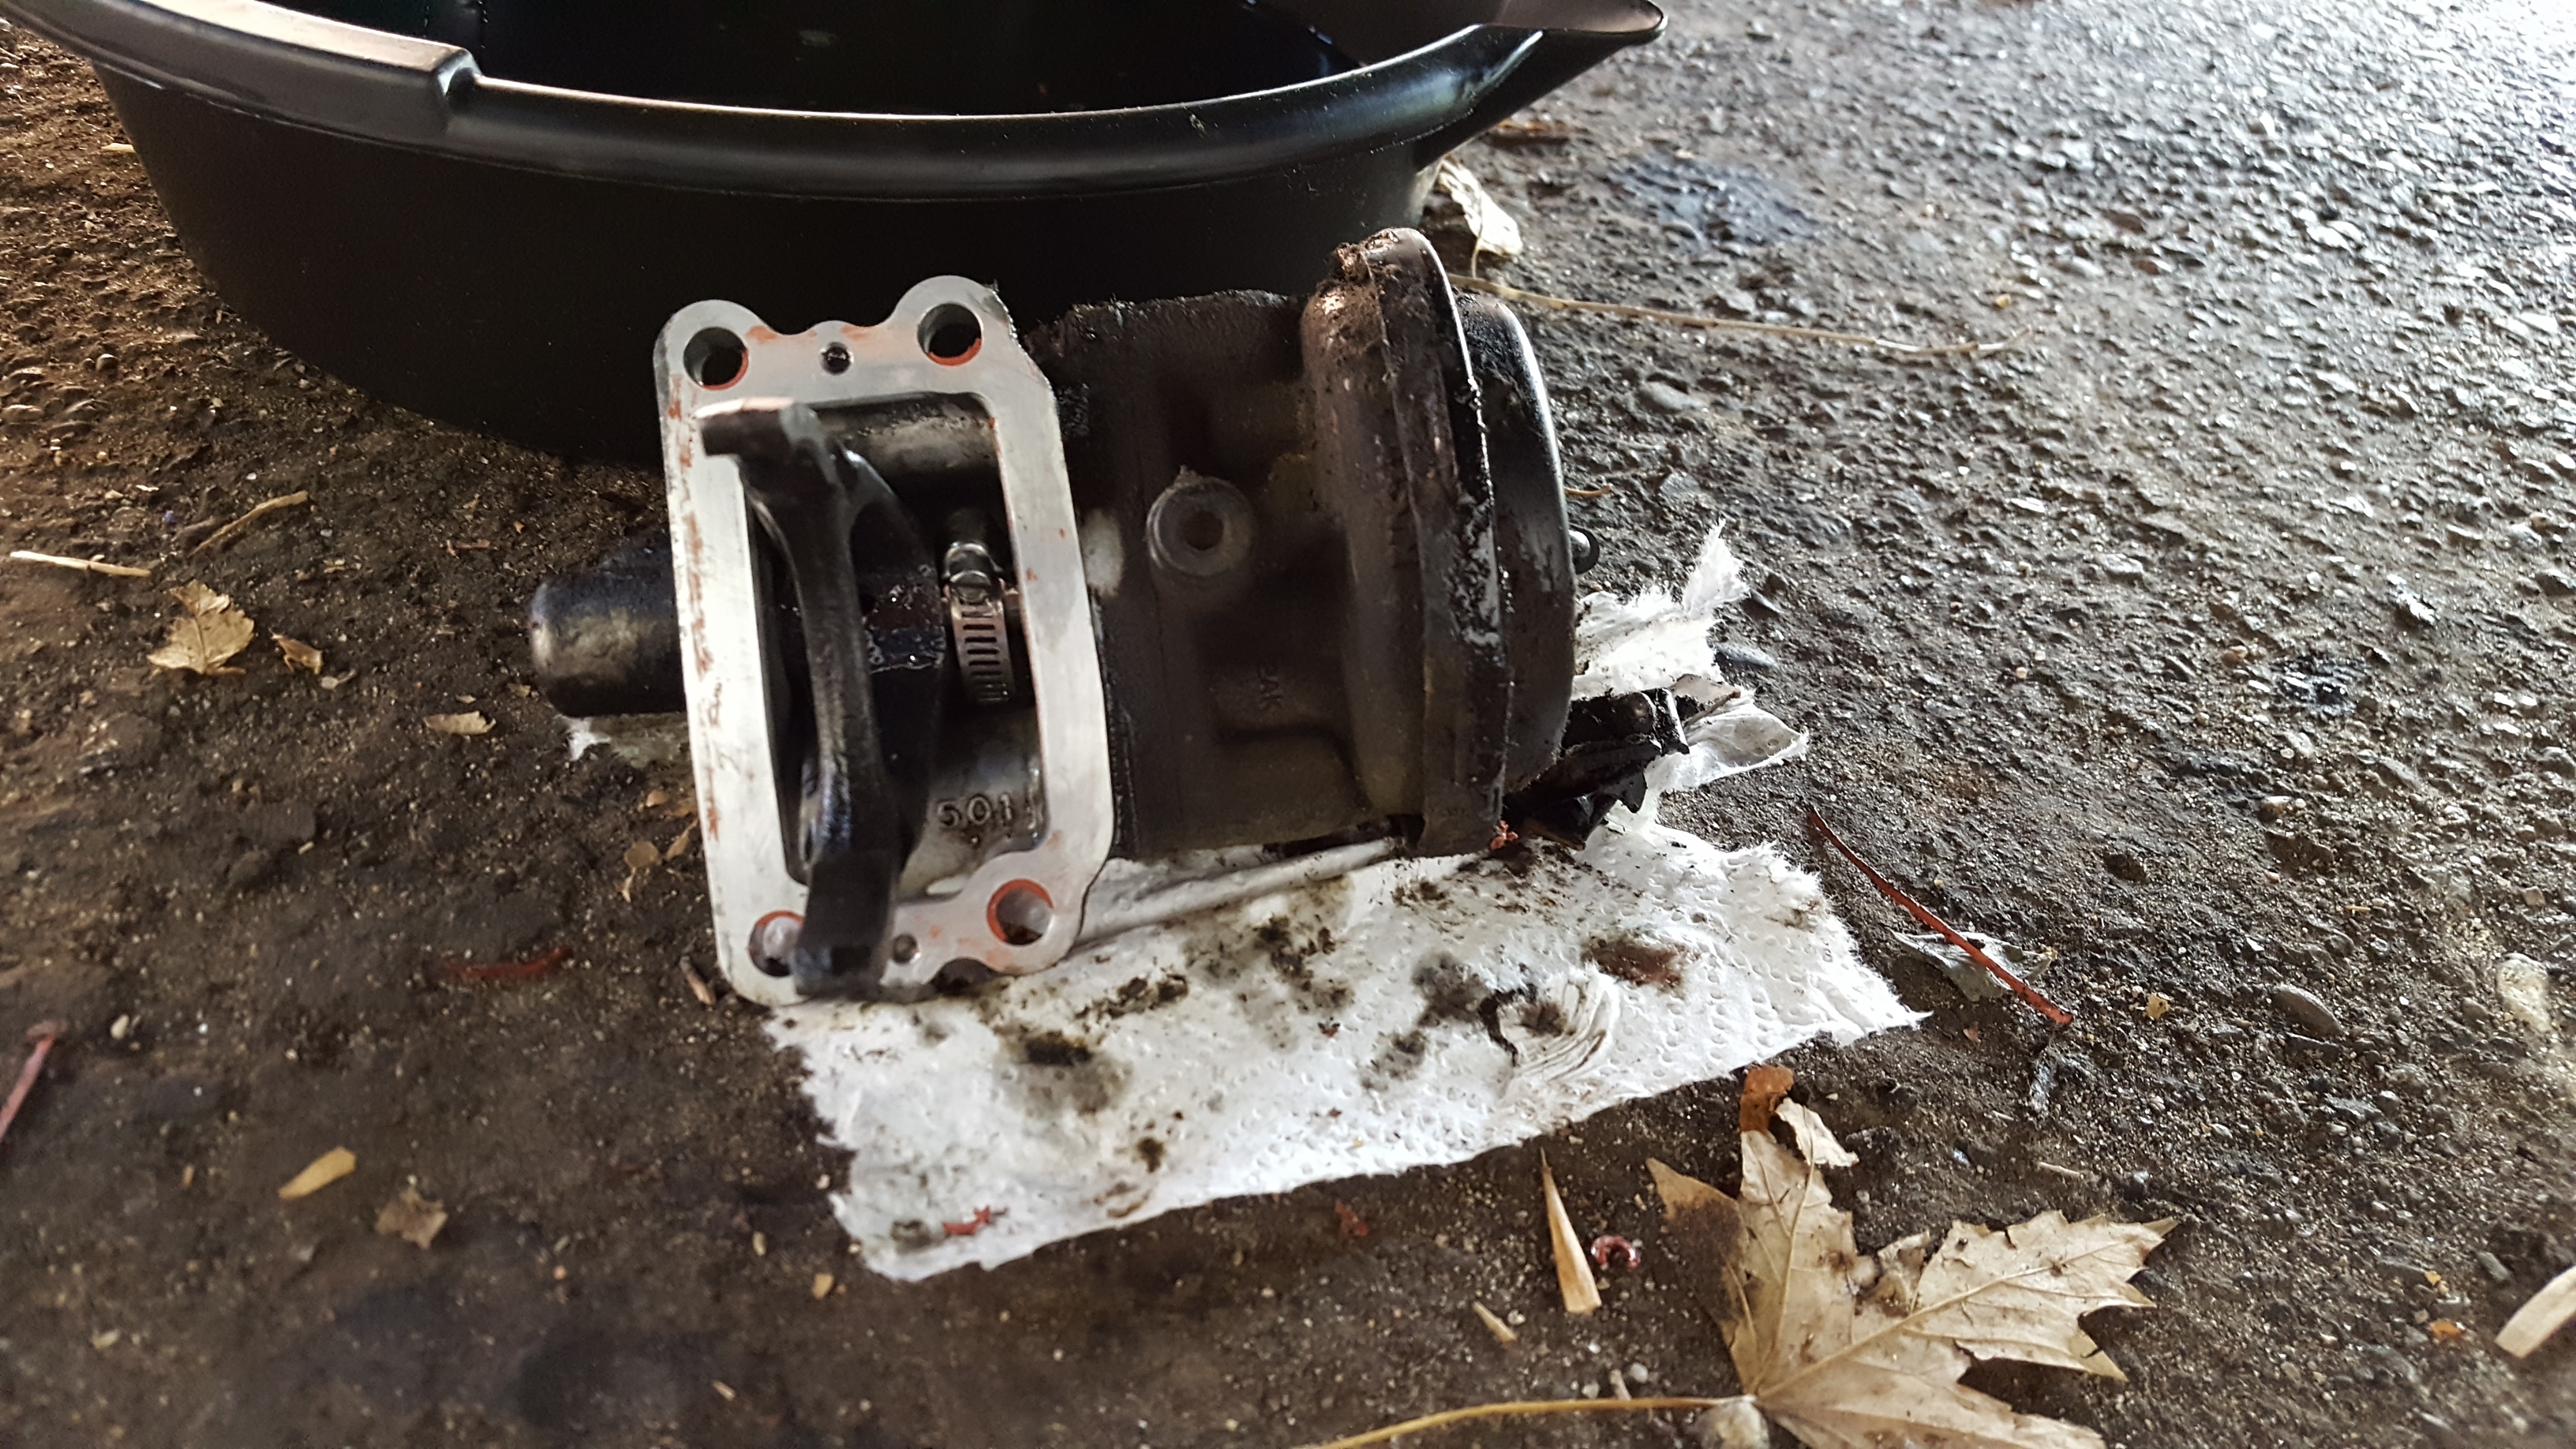
The installation itself was about as easy as it could be. The entire process is shown in the video embedded below:

The end result came out just about perfect. Air bags might have been nice for the adjustability, but I can’t complain about the simplicity of this set up.

Sitting level at last

Ball Joint Spacers

Standard

I’ll start with the completed picture, the T100 is looking good again.

Sitting at 2″ all around

I’ve been running with just the rear add-a-leafs for the last two weeks, and the jacked up rear look was really getting to me. Installing the Toytec ball joint spacer was straightforward, I followed the factory manual ball joint replacement procedure and trimmed the upper control arm to fit the spacer before reinstalling it.

Ignore the gouge on the shock boot. I figured out on the 2nd side to remove the shock entirely.

I also ended up shimming the shock to get about a 1/2″ more down travel. Though the upper bump stop still isn’t fully compressed, so I might end up shimming the bump stop as well. The only real surprise was with the nuts and extended hex bolts Toytec included. All the online write-ups for generic spacer installs say to replace the hardware, but I had assumed Toytec would bundle decent quality gear with their kit. But sure enough the first time I tried torquing them down the nuts stripped off the bolt.

Nut stripped off well under 30 ft-lbs

I might have expected this kind of issue from an ebay seller, but not from a local shop. The bolts did look decent enough and actually had the same markings as the replacement ones I bought. Though after how easily the nuts stripped I wasn’t going to chance it and replaced everything.

Once it was all back together it measured out at a little over 2″ lift at the front wheels, which is close to the 2″ that was advertised but is a little more than I actually want. The rear sags about an inch with the camper on, so I’m planning on adjusting the front traction bars down a 1/2″ to get it to ride closer to level. Should soften things up too.

Add-a-leaf Install

Standard

Last weekend I finally got around to installing add-a-leafs in the back of the T100. I bought a 2″ lift kit from ToyTec when they were having a black Friday sale, with the goal of gaining enough clearance to fit 33″ tires. The lift consists of the leaf for the rear suspension and a 1.5″ ball joint spacer for the front. The remaining .5″ up front is supposed to come from torsion bar adjustment. Though I’m expecting the camper to compress the rear suspension some, so I’ll leave it at 1.5″ and only adjust the front if it ends up uneven.

I put together a short youtube video of the installation:

What’s not shown is the driver side install. I had intended to replace the leaf spring bushings while I had it apart, but the new bushings turned out to be the wrong size. Which was unfortunate since I spent nearly an hour prying the front leaf spring pin from the old bushing.

The lift came out to nearly exactly 2″ in back. It’s riding comically high in the rear now since I ran out of time to install the front lift. I’ll show that install in a future update.

Rear window replacement

Standard

What’s impressive about this photo?

I can see through the window again! Last Thanksgiving I took the inaugural trip of the Phoenix camper. I used the tie down locations left in place from the Fleet camper, they turned out to be too close to the rear eyebolts of the new one and allowed the camper to slide forward. This resulted in a smashed rear window covered in gaffer tape for the past few months.

The other visible improvement is to the side window latch. The prior owner had used a lengthy piece of rusty wire to close the window shut. I finally replaced it with a genuine Toyota latch assembly. I rarely have passengers in back so I can’t see it getting much use, but at least now it’s less likely to stab whoever’s sitting next to it.

Bilstein 4600

Standard

I installed a set of Bilstein 4600s this past weekend. With Amazon back ordered, I ended up finding the fronts locally at Four Wheel parts. The old shocks looked to be original, Toyota marked KYBs in back and Tokicos in front. Odd that they were different manufacturers, but both were stamped with Toyota part numbers.

Old vs New

It’s possible the previous owner had them replaced at a dealer, but given the condition they were in I’ll believe they’re 20 years old. The Bilsteins went in smoothly, though as warned in an Amazon review the mounting ears for the front shock had to be bent out slightly to fit the shock. The ride is much better already, though the real payoff will be when the camper goes back on. Carrying that much weight on blown shocks was more than a little unsettling.

Shiny new parts

Fleet is sold!

Standard

Camper #1 is gone and Camper #2 is in storage. Which means it’s time to take care of some maintenance. The driver’s side door lock has been inoperable for as long as I’ve owned the truck. A couple weeks back the door handle snapped and I finally had motivation to pull the entire assembly. Replacement handles are cheap enough, locksmiths are not, but opening the driver’s door without acrobatics from the passenger’s side is priceless. Also got around to fixing a short in the passenger side brake light. No more nervous attempting-not-to-brake around cops!

Next up was installing a new radio I’ve had sitting on the shelf, a Pioneer MVH-X380BT.

The original had a dead tape deck, the new has bluetooth. The install was surprisingly easy, it mounted directly to the mount for the factory Toyota radio. Now with the backlog cleared out, I can shamelessly order more toys:

The lift kit has ball joint spacers for the front and an add-a-leaf for the rear. Toytec claims a 2″ lift, but with the extra weight from the camper I’m going to wait to see where the rear settles before adjusting the front height. The front shocks are back ordered, I haven’t decided yet if I’ll install them piecemeal. The existing shocks are shot, so it’s questionable if two good ones in the rear would be better than running soft ones all around.

Aisin Hubs

Standard

I have 4wd again! As I mentioned in an earlier post, the Automatic Axle Disconnect (ADD) on the T100 was randomly disengaging while in 4wd. The ADD works by using solid hubs to connect the wheels to the front axles. The passenger side axle is permanently fixed to the differential, but the driver’s side goes through a vacuum actuated disconnect before it reaches it. Since the front diff is open, with even one side disconnected the front driveshaft is prevented from spinning. It’s reasonably robust, but the downside is if any part of the vacuum actuator system fails you’re stuck without 4wd. You also can’t use an auto-locker in the front since the passenger side is always turning. I decided to do away with the ADD system entirely by fixing the disconnect in the on position. This is relatively easily accomplished by removing the disconnect from the diff, sliding it left, and holding the arm in place with a hose clamp.

Left is on

Hose clamp in place

That leaves the front axles permanently locked to the front diff. To prevent the front axles and driveshaft from spinning while in 2wd I ordered rebuilt manual locking hubs from Wabfab last June. It took until November for the hubs to arrive, though at least the quality of the rebuild was decent. They’re from an older Toyota pickup and bolt on in place of the solid hubs.

Before and After

Before and After

I’ve had to use the 4wd several times since and it’s worked flawlessly. Locking the hubs in a snow storm is less than fun, but it’s been worth it for the peace of mind in knowing it will actually engage.

1981 FWC Fleet

Standard

I had been looking for a lightweight trailer or slide-in camper for the T100, when an older Four Wheel Camper turned up on craigslist cheap. The downside was it needed repairs to just about everything. I convinced myself I needed another project and jumped in.

Now I have a camper

Now I have a camper

The first repairs on the list were to fix a soft floor near the door and a rotten cabover. The floor was intact enough that epoxy wood filler firmed it up, but the cabover was completely trashed. I cut that out and installed a fresh piece of plywood. Both lift panels were rotten as well, but the truck came with an intact replacement for the front panel. With that in place I had myself a somewhat functional camper shell.

Work begins

Work begins

I tore out all the paneling and insulation so I could start from scratch. The orignal camper design had storage on the left with a long bench on the right. I switched the plan to a front dinette and started building.

Progress

Progress

As all that was going on, I started actually getting to use the camper. I spent a surprisingly comfortable week at Burningman and several weekends in the Rockies.

Desert life

Desert life

On one of those weekend trips I ended up on an offshoot of the Switzerland trail behind Boulder. I was part way up a steep rocky hill when the 4wd cut out completely. The T100 has a vacuum actuated axle disconnect system for the front wheels when the system is in 2wd, bouncing over the rocks must have knocked a line loose or caused an actuator to fail. Whatever it was, it left me stuck backing down a trail and eventually sliding into a tree. Manual locking hubs jumped to the top of the upgrade list.

Back to the camper, next up was going to be adding a water tank and installing insulation and a heater. But before I got that far I decided the rear overhang was too much. The older Fleet campers are long enough that the tailgate has to stay down for the camper to fit in a short bed pickup. The T100 starts out with a terrible departure angle and the tailgate down only makes it worse. More importantly, I hated how it looked. I briefly debating getting a standard cab T100 with the longer bed, but instead saw a Phoenix camper on craigslist and moved on to camper #2.

Meet the new rig, a Toyota T100

Standard

This update was a long time coming. I bought the T100 as a project last February, but it’s only now reached a point where it can be used off-pavement. To start from the beginning, the truck is a 1996 Toyota T100 extended cab. I bought it cheap with a bad headgasket and only 142k miles. For a Toyota pickup in Colorado, mileage that low is unheard of. Also I’m a sucker for column shift automatics and bench seats.

In addition to the headgasket, the truck arrived with more than a handful of problems. Along with the bent bumper, bald tires, non-existent brakes, and flaky electrics, the interior was absolutely filthy from an entire lifetime without having seen a vacuum. It was a claimed one owner vehicle, but it would have been nice if that owner had shown any appreciation for maintenance.

00606_foo3hewq1wi_600x450
From the Craigslist Ad

The bumper was first up to get fixed. Can’t put long hours into fixing a truck if it’s too ugly to look at. Then came the headgasket.

20160221_145507
Sad and leaky gaskets

Based on the dried crud covering the engine bay, the prior owner didn’t let something as trivial as a blown radiator stop him from driving the truck. The heads were thoroughly warped and the head gasket had been blown long enough ago that the leak between the coolant channel and cylinder was starting to corrode the block. Everything was salvageable though and I got it back together after about a month’s worth of weekends. I’d like to think it would have been faster if I had had luxuries such as a roof or electricity.

20160326_132538
All cleaned up

It wasn’t on the road long before I found my next project, a beat up 1981 FWC camper. More on that in a later post.